Next.js로 개발 중 HTTPS 적용하기
가끔 개발을 하다보면 브라우저 제한으로 인해 로컬에서 개발할 때도 HTTPS가 필요할 때가 있다. 전에는 ngrok를 이용했지만 무료 사용으로는 원하는 것들을 다 하기엔 좀 부족했고, 생각보다 그냥 인증서 하나 파서 적용하는 게 어렵지 않다. 공인된 인증서가 아니어도 개발에 필요한 건 다 사용할 수 있다.
인증서 만들기
로컬에서만 사용할 거라면 공인된 인증서를 발급할 필요가 없기 때문에 OpenSSL을 이용하면 Self Assigned 인증서를 만들 수 있다. 만들어진 인증서를 클릭하여 열어 신뢰하기를 하면 크롬의 경고를 안 보는 것도 가능하다.
openssl req -x509 -out localhost.crt -keyout localhost.key \
  -days 365 \
  -newkey rsa:2048 -nodes -sha256 \
  -subj '/CN=localhost' -extensions EXT -config <( \
   printf "[dn]\nCN=localhost\n[req]\ndistinguished_name = dn\n[EXT]\nsubjectAltName=DNS:localhost\nkeyUsage=digitalSignature\nextendedKeyUsage=serverAuth")
Days 파라미터를 조정해서 인증서 만료기간을 조정할 수 있다.
Next.js에 적용하기
프로젝트 루트에 server.js 등을 만든 뒤 아래와 같은 코드를 만들어 주자. 아래와 같이 만들어주면 HTTP와 HTTPS를 동시에 쓸 수 있다.
const {createServer: https} = require('https');
const {createServer: http} = require('http');
const {parse} = require('url');
const next = require('next');
const fs = require('fs');

const dev = process.env.NODE_ENV !== 'production';
const app = next({dev});
const handle = app.getRequestHandler();

const ports = {
  http: 3080,
  https: 3443,
};

const httpsOptions = {
  key: fs.readFileSync('./localhost.key'),
  cert: fs.readFileSync('./localhost.crt'),
};

app.prepare().then(() => {
  http((req, res) => {
    const parsedUrl = parse(req.url, true);
    handle(req, res, parsedUrl);
  }).listen(ports.http, (err) => {
    if (err) throw err;
    console.log(`> HTTP: Ready on http://localhost:${ports.http}`);
  });

  https(httpsOptions, (req, res) => {
    const parsedUrl = parse(req.url, true);
    handle(req, res, parsedUrl);
  }).listen(ports.https, (err) => {
    if (err) throw err;
    console.log(`> HTTPS: Ready on https://localhost:${ports.https}`);
  });
});
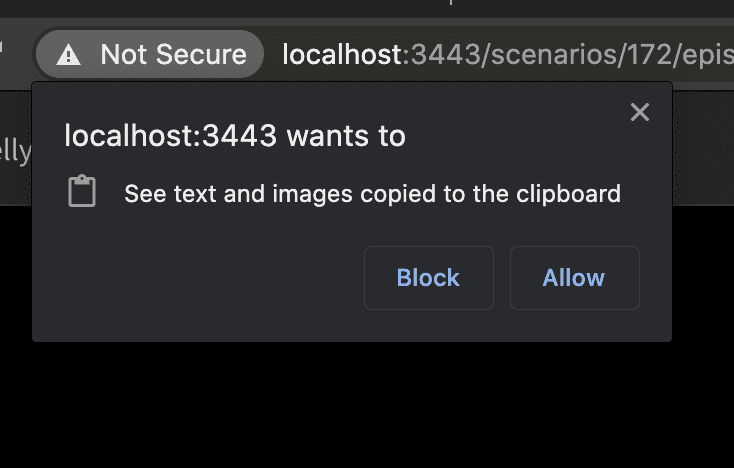
이후 node server.js 로 실행시켜주면 아래와 같이 브라우저 HTTPS가 필요한 기능들을 사용할 수 있다.
